Friday, July 30, 2010

I could stay in all day.


This kitchen is so dreamy. Makes me want to just stay in and cook all day. There's nothing more fun for me in the winter than to stay in a day every weekend and try a few new recipes. As much as I'm loving summer, I look forward to the comfort food of winter and the holidays every year.

Who wants to come help me refinish me cabinets? :)

Tuesday, July 27, 2010

25. Shortcake Biscuits

I needed something sweet and was completely out of powdered sugar for frosting (like I need another dang cupcake anyway). I had 4lbs of strawberries in the fridge and decided shortcake biscuits and sliced strawberries would work just fine. I immediately got to baking (and maintained a beautifully clean kitchen the entire time).

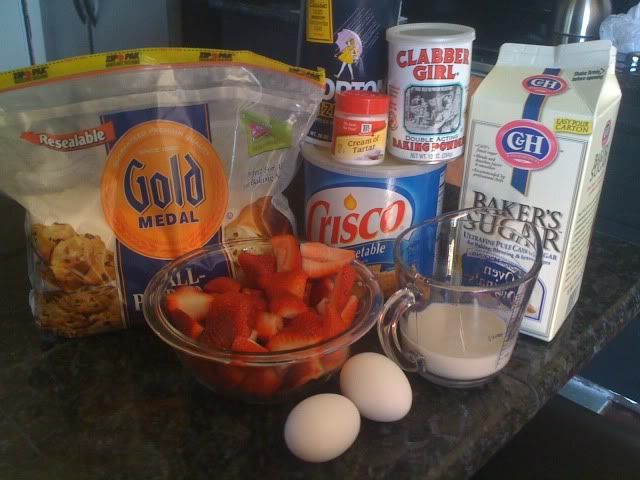
Please gather the following ingredients:
3 cups flour
4 tsp baking powder
3/4 tsp salt
1/4 tsp cream of tartar
2 tbsp sugar
2 eggs
1/2 cup milk
3/4 cup shortening

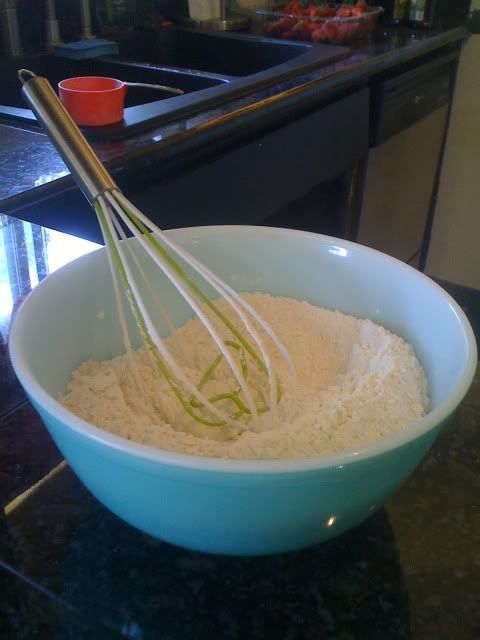
Mix all dry ingredients in a bowl or stand mixer. I added mine to my stand mixer and used the paddle attachment.

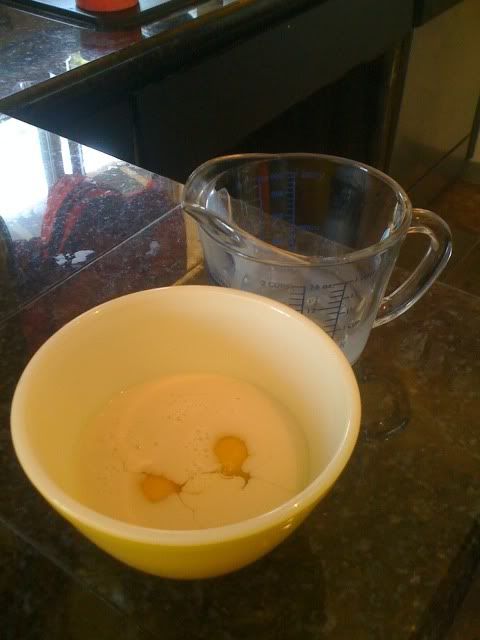
Combine eggs & milk in another bowl, mix and set aside.

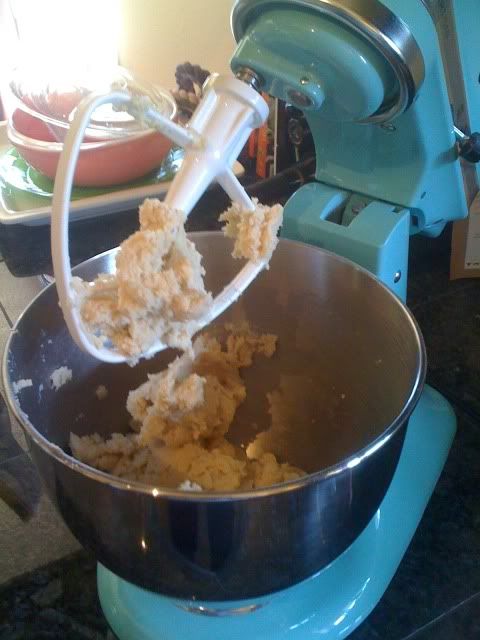
Add shortening to the dry mix and cut in with a pastry cutter or combine with the stand mixer on a low setting. I added 1/4 cup at a time while using the stand mixer on stir.

Once the shortening and dry ingredients are well combined, add your egg & milk mixture. Mix until dough becomes clumpy and sticks together.

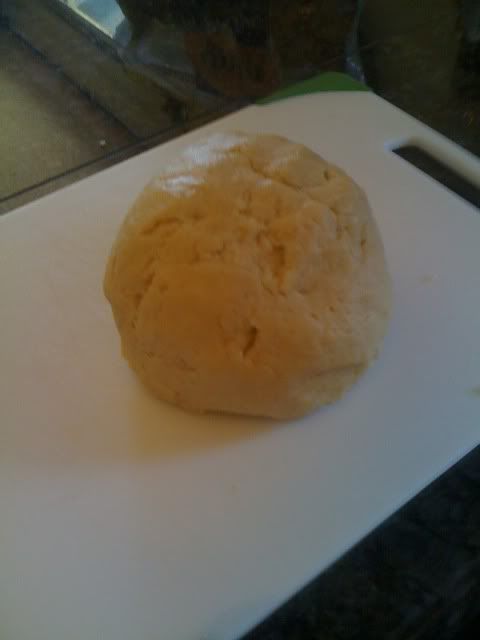
Turn out on to the counter or cutting board and kneed for a few minutes until the dough feels well combined and a ball forms.

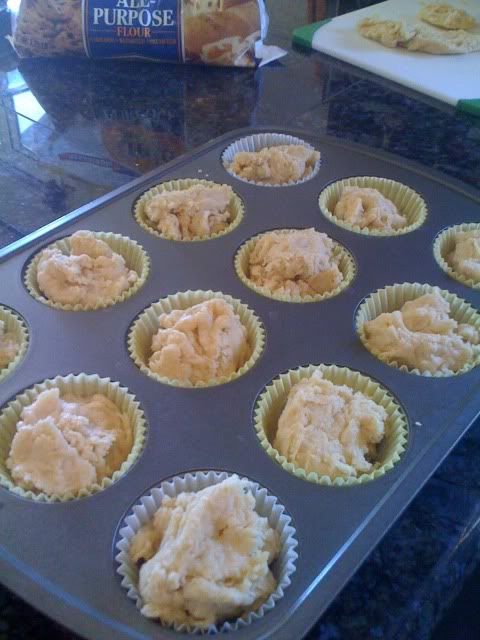
I split my dough down the middle and pulled it out in to big mess. I tore off pieces and placed them in a muffin tin line with papers for a rustic looking biscuit. You could also roll the dough to about a 3/4 inch thick and cut out biscuits with the mouth of a glass or biscuit cutter.

Place them in the oven at 450 degrees and bake for 10-15 minutes.

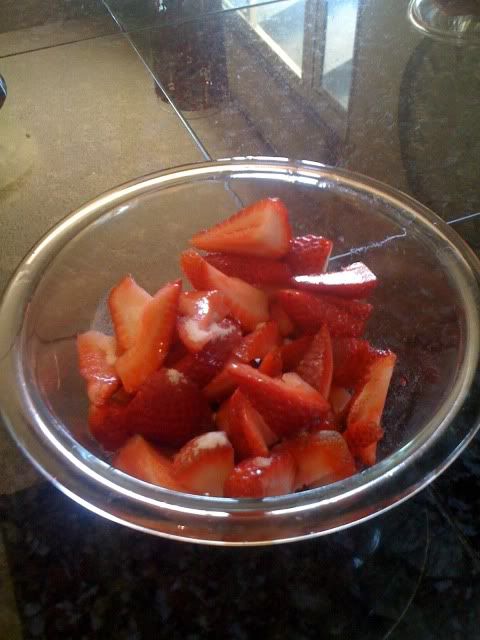
My topping included sweetened sliced strawberries. I used 2 cups rinsed and sliced strawberries and 1 tbsp granulated sugar sprinkled on top. I mixed well and set aside.

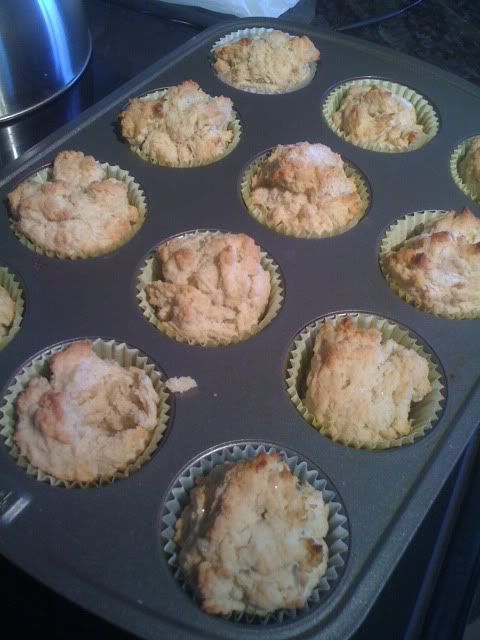
My pretty little biscuits took their whole 15 minutes, perhaps due to the fact I shoved them in a muffin tin rather than rolling them out. So do keep an eye on them when baking depending on what option you choose. Allow them to cool.

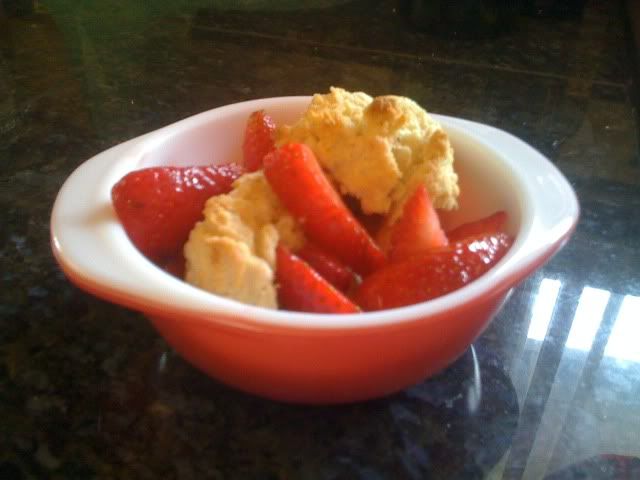
I split my biscuit down the middle and used my pink pyrex for an overall pretty dish. I topped with a few scoops of strawberries and enjoyed! You could also butter your biscuits and drizzle with honey, or add whipped cream for a real strawberry shortcake treat!

Enjoy!


Shortcake Biscuits

3 cups flour
4 tsp baking powder
3/4 tsp salt
1/4 tsp cream of tartar
2 tbsp sugar
2 eggs
1/2 cup milk
3/4 cup shortening

Mix together dry ingredients. Beat 2 eggs with 1/2 cup milk and set aside. Mix 3/4 cup shortening with dry ingredients (like for a pie crust). Add milk and eggs. Turn out on to counter or board and knead for a few minutes. Roll 3/4 inch thick and cut. Bake at 450 degrees for 10 to 15 minutes on a cookie sheet lined with parchment paper.

Monday, July 26, 2010

do-gooder turned jackass

It was baseball weekend with husband's family, and we stayed with his brother for the weekend. Today dad and younger brother headed back to Oregon, older brother and his wife headed off to work.

I took it upon myself to clean the kitchen, arrange the dishwasher so that everything fit and get it started. Easier on my pregnant sister-in-law who was such a good hostess.

Then I thought, why not go the extra mile and wash the carafe to the coffee pot.

AND THAT'S WHEN IT HAPPENED! This do-gooder turned jackass. I effing broke the carafe while rinsing it in the sink. Damn it all to the coffee pot graveyard.


So we headed out and bought a new one. And I left this note.


And this coffee pot with new filters (since their old ones won't work, and we tried to make that happen). I hope they like it.

Dear M&M,
I'm really sorry. I feel like an ass. But thank you for having us. It was great to see you.

Love,
C


- Posted using BlogPress from my iPhone

Sunday, July 25, 2010

Baseball, baby!


Hello from Safeco Field! We are enjoying our yearly family Mariners vs Red Sox game today. Though I'm a daddy's girl (he was born and raised in Boston), I'm still a Washington girl. The family may be divided, but i still say Go Mariners!


- Posted using BlogPress from my iPhone

Thursday, July 22, 2010

happy birthday husband!

That's right, handsome. Happy Birthday to you!


You are the absolute funniest person I've ever met.
You can also be my biggest pain in the butt at times.
Overall, every day with you is the best day yet.
 and I love you more than any other person I've ever met.

Wednesday, July 21, 2010

Candlestick Makeover.

I came across this idea here and figured it would be a fun and easy weekend project. I was pleased to find I was right!


It's now been made known by my husband that the sheer amout of junk shopping I've been doing could lead to all junk stores in Washington state soon being out of business. He fears I'll have to travel to a whole new state to continue the madness. I didn't think I was shopping that much.


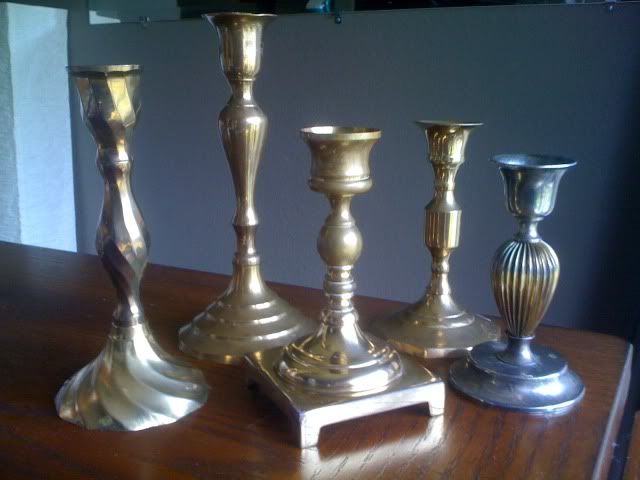
I picked up these brass candle sticks for the low price of $.25 to $.75 at the thrift store the other day. They don't match, but I think that was supposed to be the point. And yes, I was looked at like a crazy person. I picked up a can of white semi gloss spray paint that ran me about $3.50, and used the primer from the chalkboards.

Wash each one well in hot water & soap. Make sure to scrape off any wax on the outside of the candlestick. Sadly the little guy on the right, the one with the fat middle - that doesn't look brass, he didn't make it. I didn't realize there was more wax on the base and let me tell you, that just doesn't mix well with spray paint.


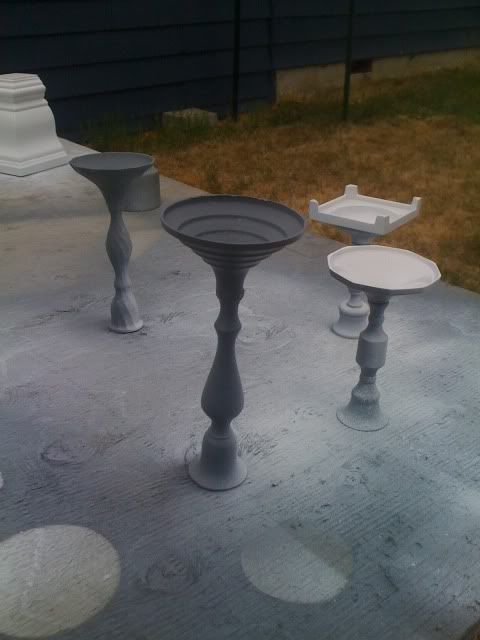
After they are good and dry, prime those babies! Due to the shape and angles, it's good to spray them right side up and upside down. After the primer is good and dry, paint! I think the glossier the better. Black would have been great, but white matches my decor better.


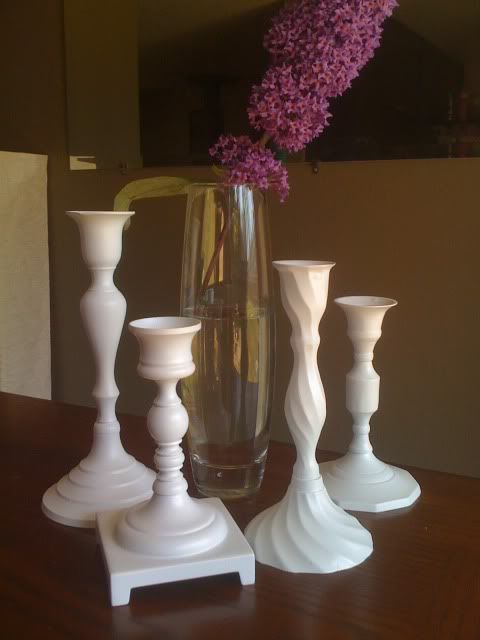
Allow your paint to dry for a good amount of time before handling. I did two to three coats per candlestick, just based on angles alone. I think they turned out really beautiful. I even hit up another store in town and added 4 more to this collection. An inexpensive and satisfying project in my book!

*I've linked this project up with a lot of other fabulous projects over at Funky Junk Interiors*

Monday, July 19, 2010

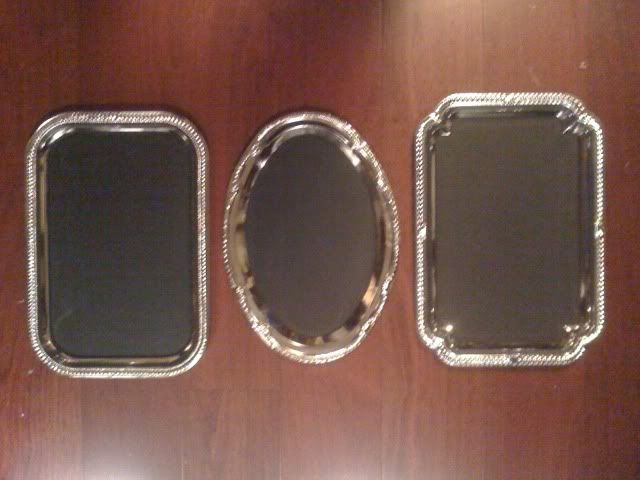
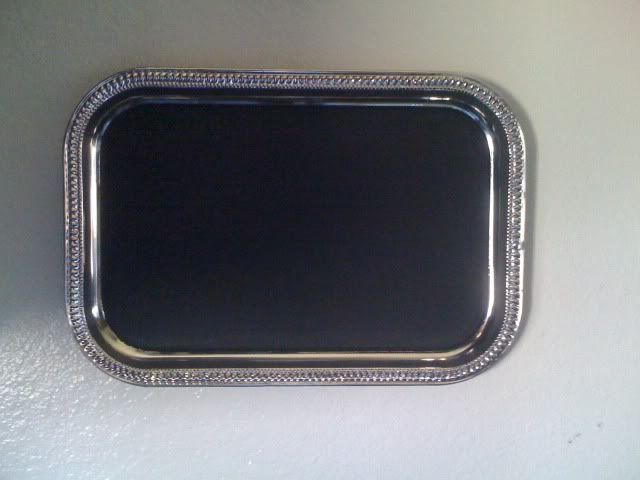
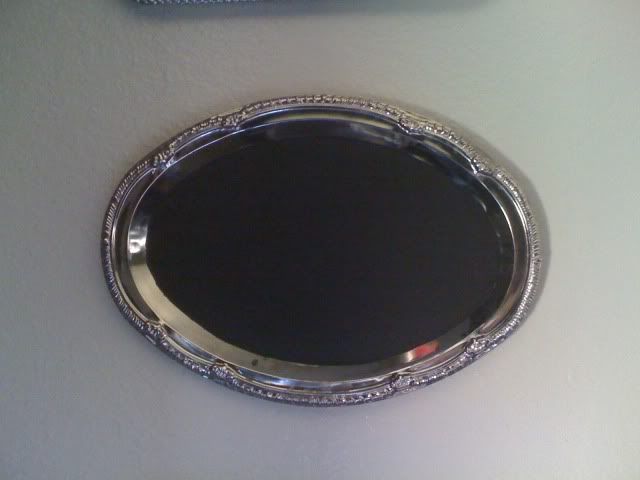
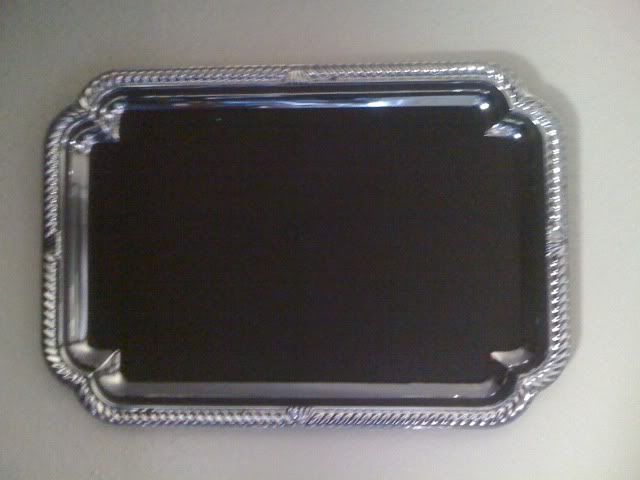
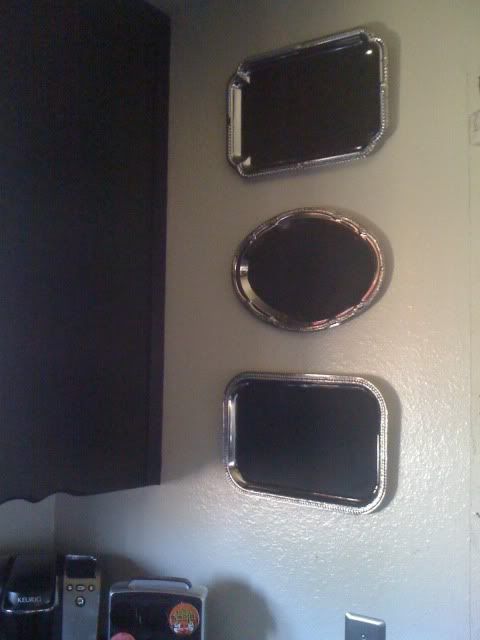
Pretty Silver Chalkboards

This project is quick and easy. I think they have a really pretty vintage feel to them.

To create the chalkboards I used the following products:
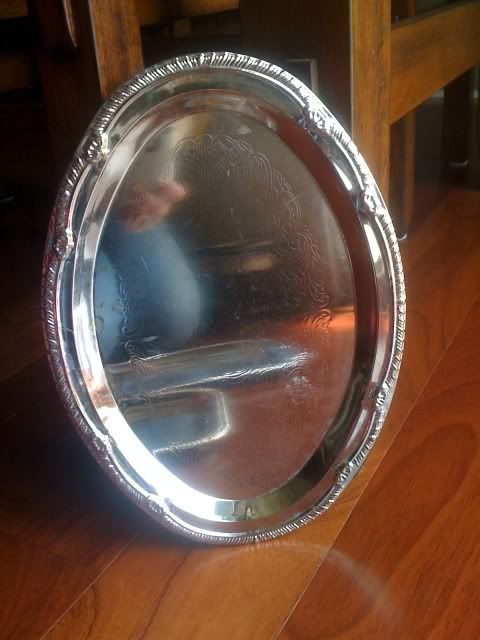
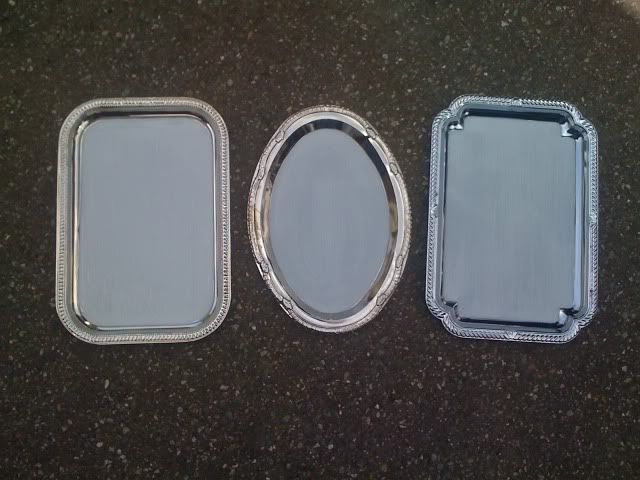
Silver trays
Painters tape
Primer
Chalkboard paint
Sandpaper
Superglue
Small metal sawtooth picture frame hangers

Start by sanding down the center of each tray. You want to ensure the primer sticks, and if your tray has an etched design like mine did, you want to make sure that doesn't show. When you're done sanding, wash and dry.

Next, tape off the edges with painters tape. This is a little tedious, but it does give it a pretty clean edge. Make sure the edges of the tape are pressed down firmly, and if you choose a wide enough tape it should completely cover the edges of the tray so you don't get paint anywhere else.

Using a spray primer, spray the center of each tray and allow to dry between coats. I used two coats of primer.

Once the primer is good and dry, spray with chalkboard paint. I think 2 to 3 coats should do it. Allow paint to dry completely before pulling off the tape. I found that my paint had bled just a bit, but scrapes off easily with your nail since it's in an area that hasn't been sanded or primed.

I picked up a package of the metal sawtooth picture frame hangers for about $1. I attached them to the back of the tray with super glue. Allow it to dry for a good amout of time before hanging. The tiny nails included with in the hanging kit (the ones you'd use to attach the hangers to a wooden frame) were the perfect size to hang these on the wall.


How cute is that!

These would be great hung in the kitchen, dining room or even a bedroom. I think they'd make great house warming gifts or shower gifts. I plan to pick up a few more over my weekend for gifts.

The overall cost of this project was about $15. I still have plenty of primer and chalkboard paint left, so the only cost for future projects will be the trays. And under a dollar each, you can't beat that!