
We knew this weekend was coming pretty far in advance and made sure not to make plans with anyone at all. We were just going to spend the entire 4 days two selfish individuals doing anything we wanted. I loved it.
So we came up with something new. Carpentry. That's right, we built something. I can't say this is his first time, he custom built shutters for our house when we painted in October. I found a specific style I loved but refused to pay the special order price. For the cost of two custom order shutters, we were able to buy all the wood for every shutter on the entire house. He mastered them.
I came across Knock Off Wood a month or two ago and fell in love with the furniture plans she had been sharing. I've always been interested in building my own furniture, but let's face it - I'm no math whiz. There was no way I was figuring any of this stuff out. Then along came Ana, bless her heart.
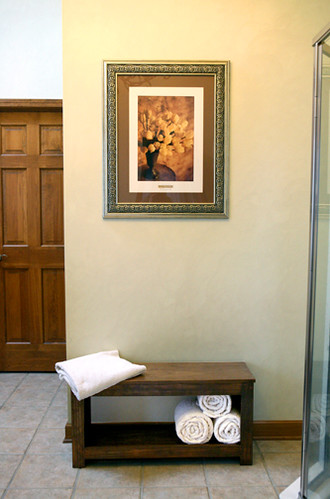
And then came the Simple Spa Bench.

(images from Knock Off Wood)
Now, to put this in a spa-like bathroom would be ideal. Yeah, I don't have one of those. But I really loved the bench. However, I've been trying to find something for our entry that would store shoes and make the space look a little less bare with how it's set up. I thought if stained the right color, this would be great next to the front door and my husband would have somewhere to sit and take his work boots off. Maybe even store them. Thankfully he liked the idea too.
The plans are simple and laid out online step by step. We picked up the necessary wood and finishing products and once home it only took about 45 minutes to get the pieces cut and the bench assembled.
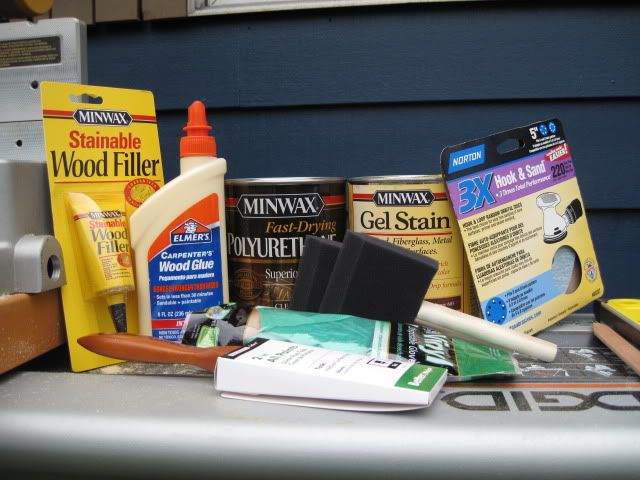
Finishing supplies. We'll have plenty left over for future projects. I was told we're building end tables next weekend.
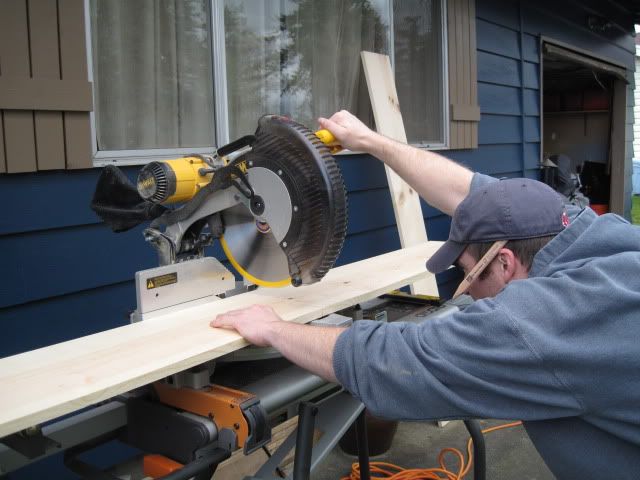
This is a mitre saw. If you have a table saw, please use it. We don't have one. And though the mitre saw worked, a table saw would have been so much easier.
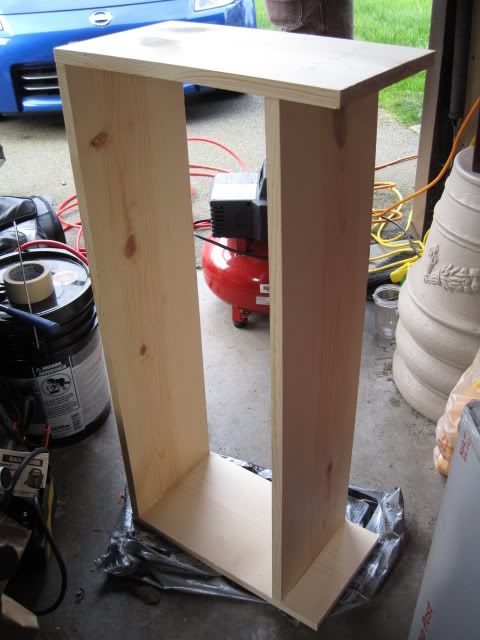
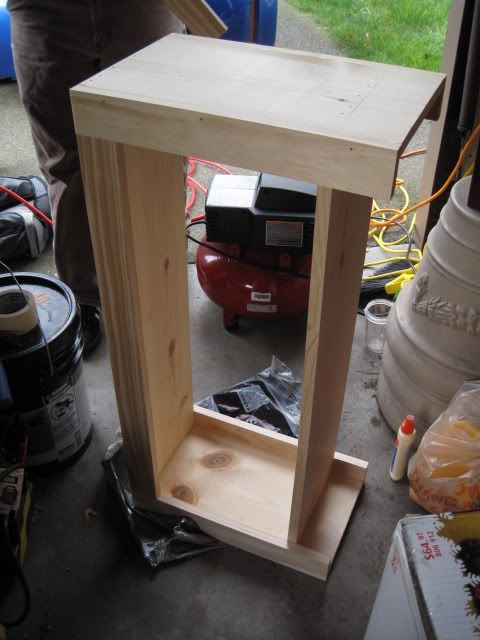
The pieces were cut to length and we started putting the frame together with wood glue and 2" nails. We own a nail gun which made putting this thing together a breeze. Here's the frame.
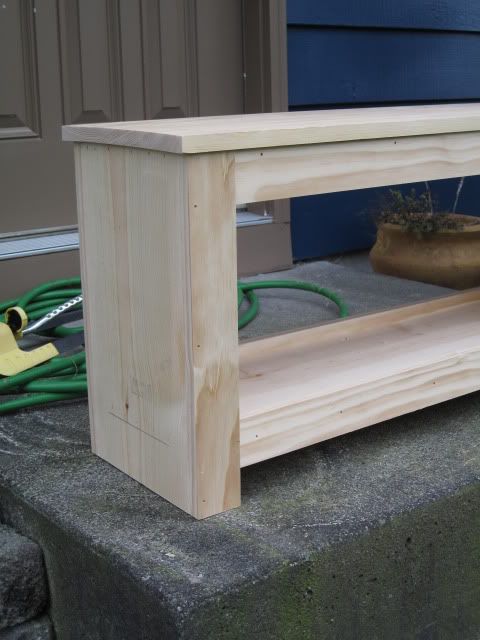
Next came the trim pieces. Trim is a little easier if you cut as you go, that way you can ensure a snug fit. If it's not perfectly square (like ours) then trim pieces cut to the exact length specified might not fit like you'll want them to.
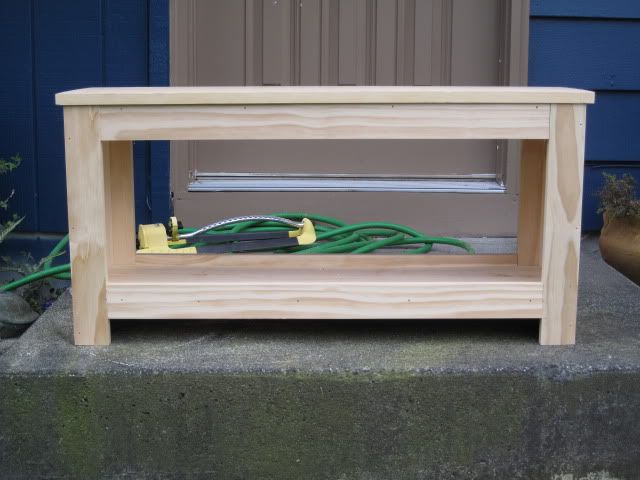
Pretty bench assembled (and our blue house, and a random garden hose).
I didn't stain this right away. I allowed the wood glue to set for the 30 minutes the directions stated and filled the nail holes with wood filler. We left it over night before starting on the next steps of sanding and staining.
So far I'm really pleased with it. We love being able to take pride in our work. We're really excited about having a beautiful piece of furniture we've built ourselves. We're not quite finished yet, but close. We'll finish it up this weekend and post pictures of the finished product.
5 comments:
wow! you guys are talented! I love DIY home projects!
This is looking awesome! I can't wait to see the finished product!
Also...I nominated you for a blog award!
It looks great so far! I can't wait to see how it turns out. If it's anything like the bench that inspired it, I am going to be EXTREMELY envious. :)
Will you share the costs of everything once you are finished?
Looks great! Good job!
What a cool site that is! Hubby's grandfather is a carpenter, so he's made us some beautiful things, but that blog really makes me think that we could actually make some furniture ourselves!
Can't wait to see the finished product!
Post a Comment